How to create and host a racket package for Win10
Racket packages are useful for sharing your code with other developers. Through properly set-up packages, anyone can call functions you defined in their own code without needing to copy-paste or edit your code. This tutorial will detail how to create a package in Windows 10.
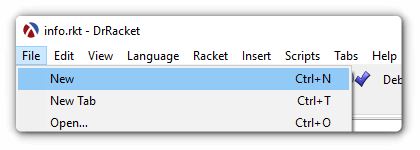
We will begin with creating a new racket file using DrRacket.
Make sure to save it with a name of your choice.
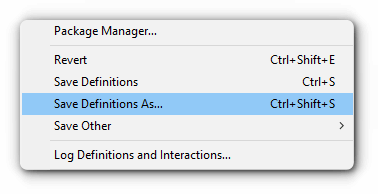
I recommend naming it something relative to your function’s purpose, for example YourFunctionName-function.rkt.
Inside that file, you should create a basic function to be exported.
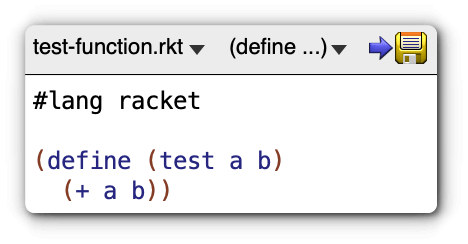
#lang racket
(define (test a b)
        (+ a b))
Now, with that function in the file, you need to add a provide: (provide functionName)
#lang racket
(provide test)
(define (test a b)
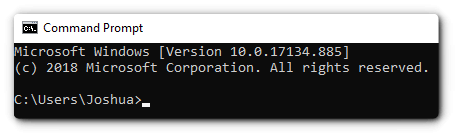
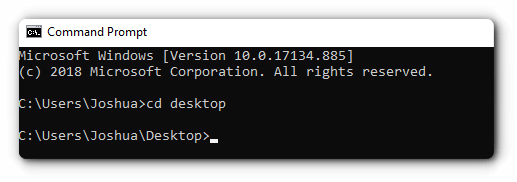
(+ a b))Make sure to save it! Now with the function created, you need to generate a new package file. To do this, you must first open up a terminal through Command Prompt.
Once you have the terminal open, you will need to cd, aka change directory, into the desktop: cd desktop
If you are looking to make multiple packages, make a packages file on the desktop and then cd into that: cd packages
Once you are in the folder you want in the terminal, test to see if the racket commands are working by trying to run racket in the terminal: racket
If the racket command is not found, follow this tutorial. If it is working, you can exit the racket command line by pressing ctrl+c.
Once that is done, we are going to create the package folder. You can do this by using the raco command tool. (More on raco here)
Change directories to where you want the package to be saved to and run this code in the terminal: raco pkg new <yourPackageName>
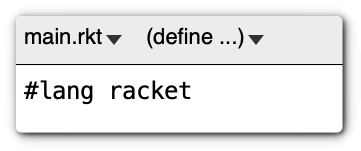
Once you have created the package folder, navigate into it and open the main.rkt file in DrRacket. This file is used to pass through functions from your other files inside of your package. You will see a bunch of code. Delete it all and replace it with #lang racket then save it.
If you want to change the description of the package then you will need to open up the info.rkt file in your package folder.

Where it says Description Here, between the quotations, is where you would add your description. Make sure you save the file after editing!
Now that you have your package set up, we are going to link your function file to main.rkt.
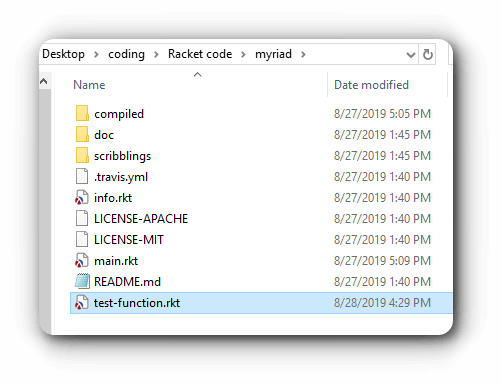
First, we need to move the function file into your package folder:

Since we have already added the (provide functionName) in the function file, we only have to modify the main racket file. Open the main.rkt file in DrRacket so we can add the pass through code for the function to work.
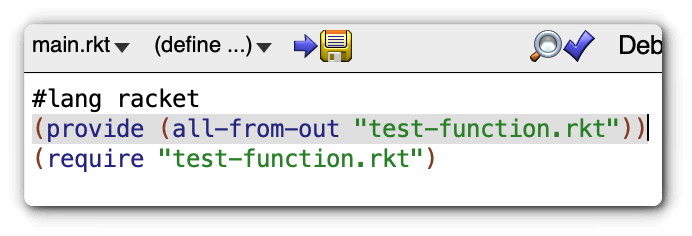
Your main.rkt should look like this:
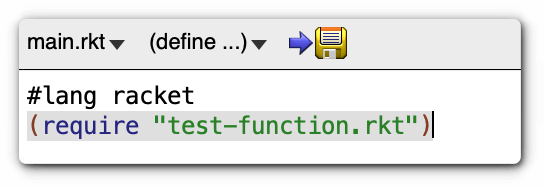
To add your function to the main.rkt file, you will need to add a requirement to main.rkt with the require function. This is what it would look like. (require "YourFunctionName-function.rkt")
You can do this for however many functions or files you want to add. Since we are going to use main.rkt as the main file in our package we are going to have to export the functions that we passed through.
We would do this by adding the code (provide (all-from-out "test-function.rkt")) under the #lang racket
Once we save these changes, we are finished with creating the package.
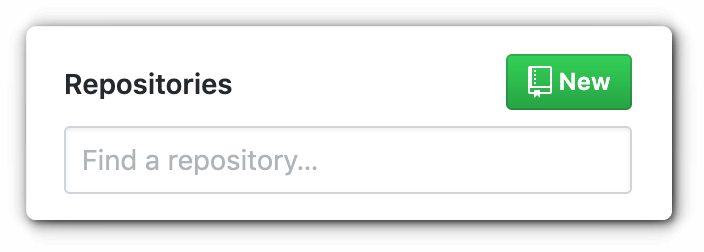
Now we will begin deploying it to github so that others may download and use our package. To start, you must have an account with github. Once you sign up with them, you will need to create a new repository. To do so, you can click the “New” button next to repositories list.
When creating a new repository for a package, make sure to name it after the package.
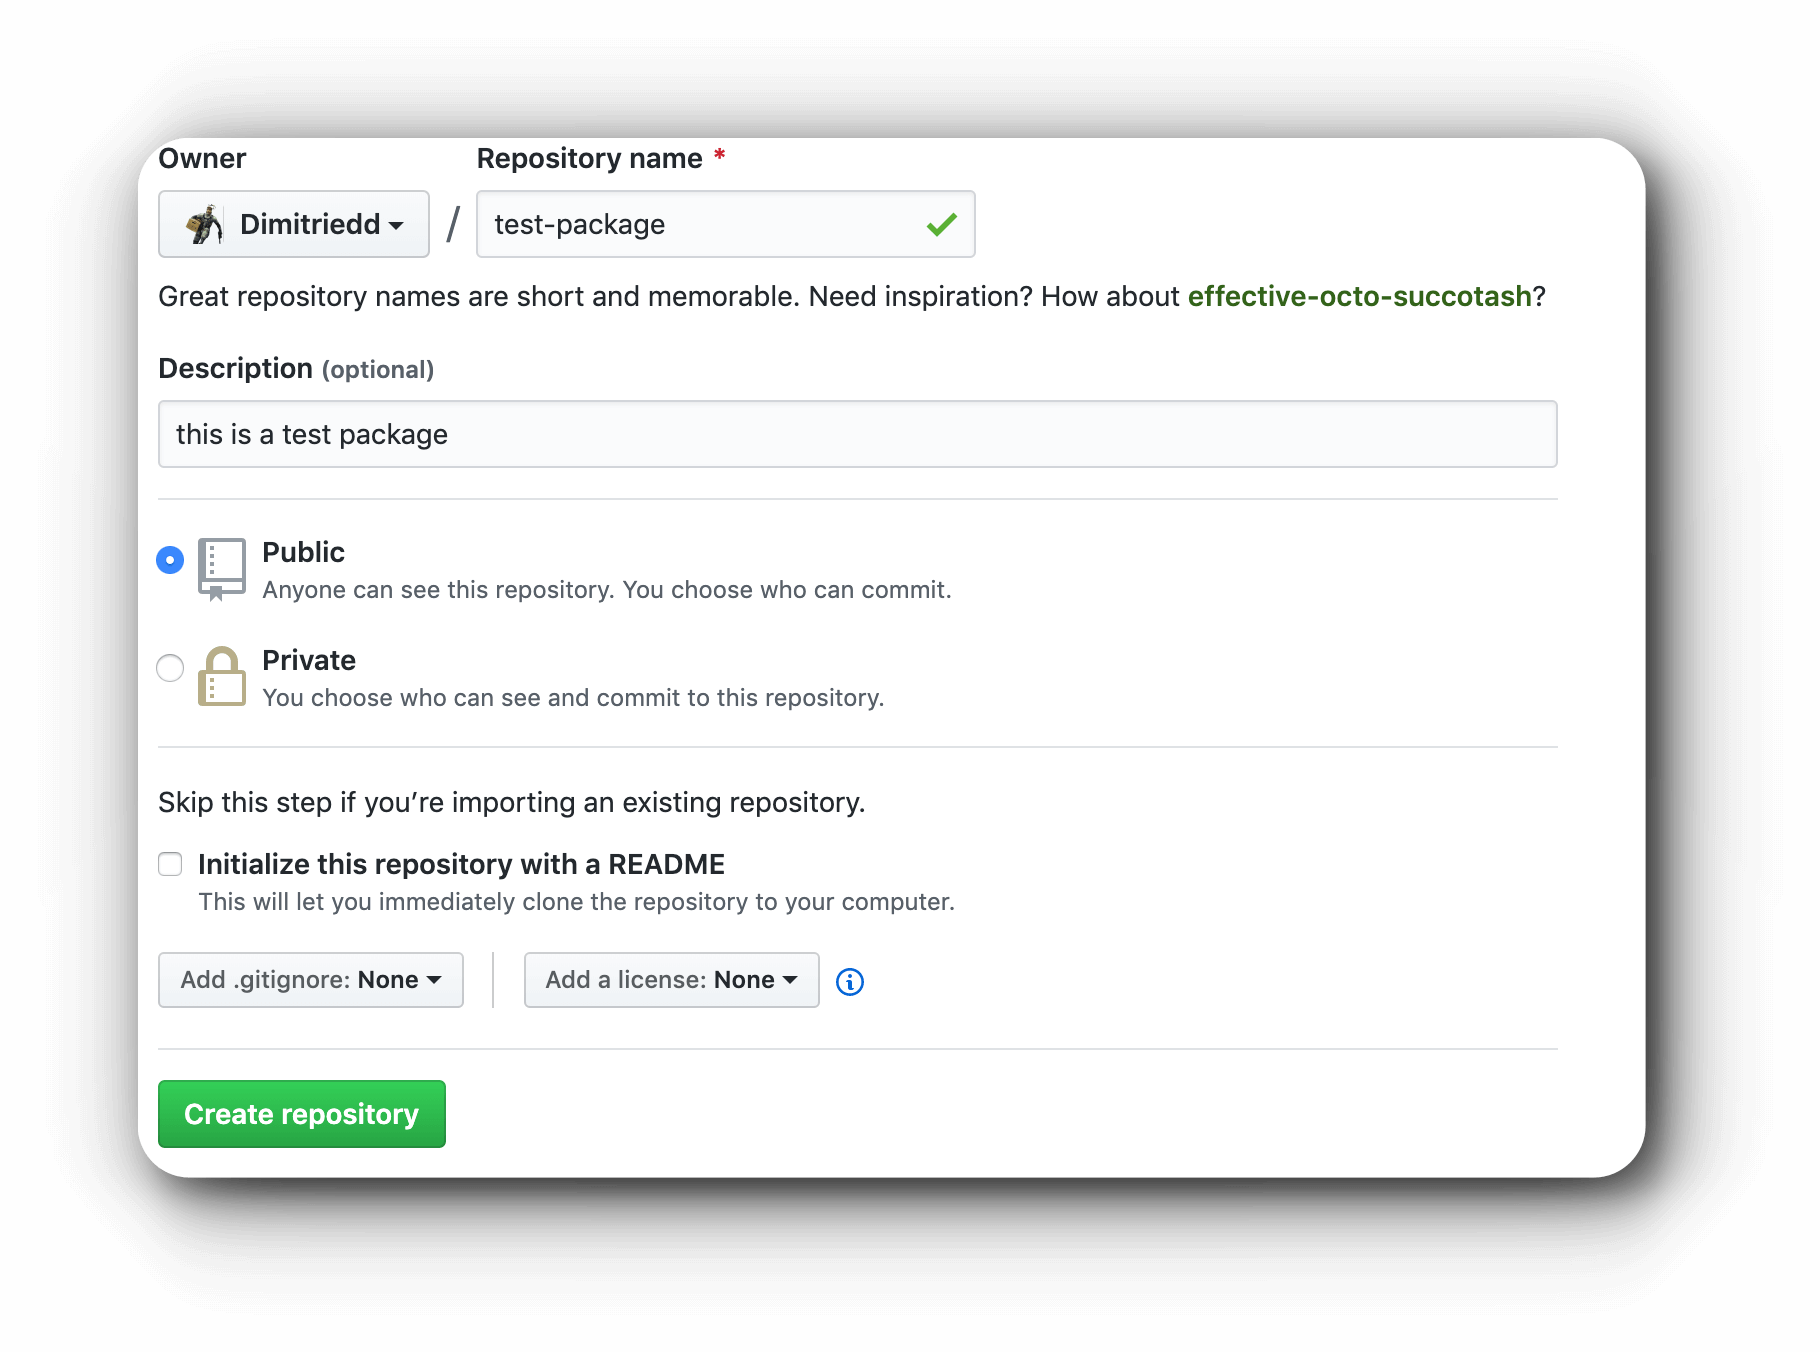
After that click create repository.
Once you have created the repository, you will need to install the git command line on you system. Your computer will use git to interface with the github repository we just created. If you already have it installed then you can skip this part.
To install git to Win10, you will need to download the git-bash installer. Once installed, open git bash and try to run git --version. If it gives you a git version, it successfully installed.
Now that you have git installed, we can push your package to your github repository. You will need the link to your git repository as it will be used in the commands below.
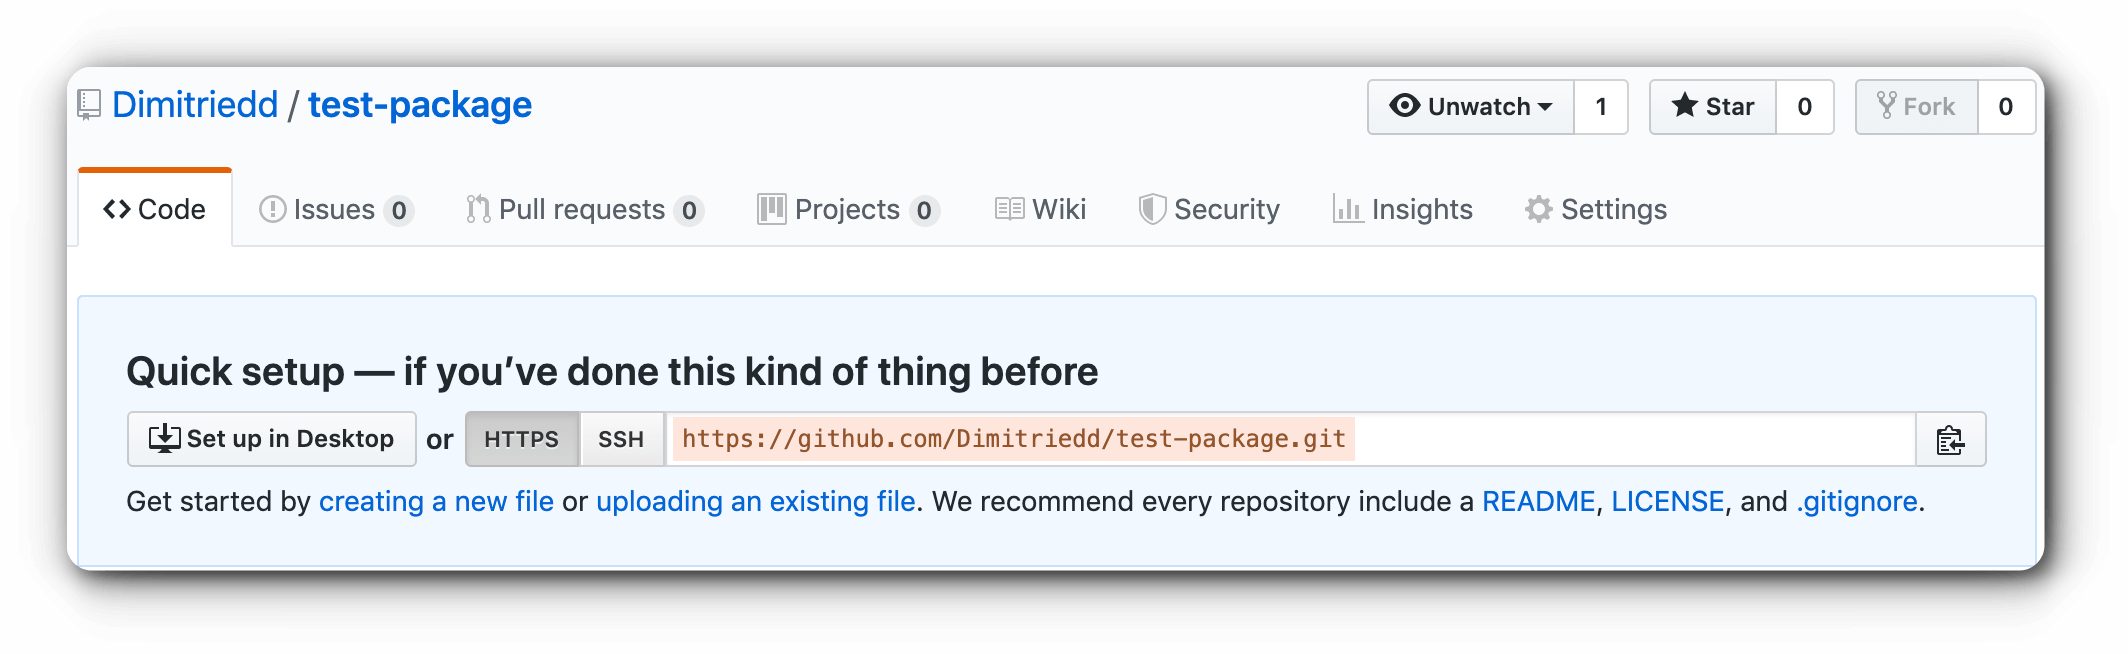
This link will be different for every repository. Here is an example link: https://github.com/YOUR_USER_NAME/YOUR_REPO_NAME.git
The first step is to cd into your package’s folder using the terminal. Once inside the folder, you can run the commands listed here in the given order.
git init
git add .
git commit -m "first commit"
git remote add origin https://github.com/YOUR_USER_NAME/YOUR_REPO_NAME.git
git push -u origin master
It might ask you to sign into github through the terminal when you run git add . . That is standard behavior for git so as to prevent unauthorized changes to your github repo.
Make sure your github repository updated by refreshing the page.
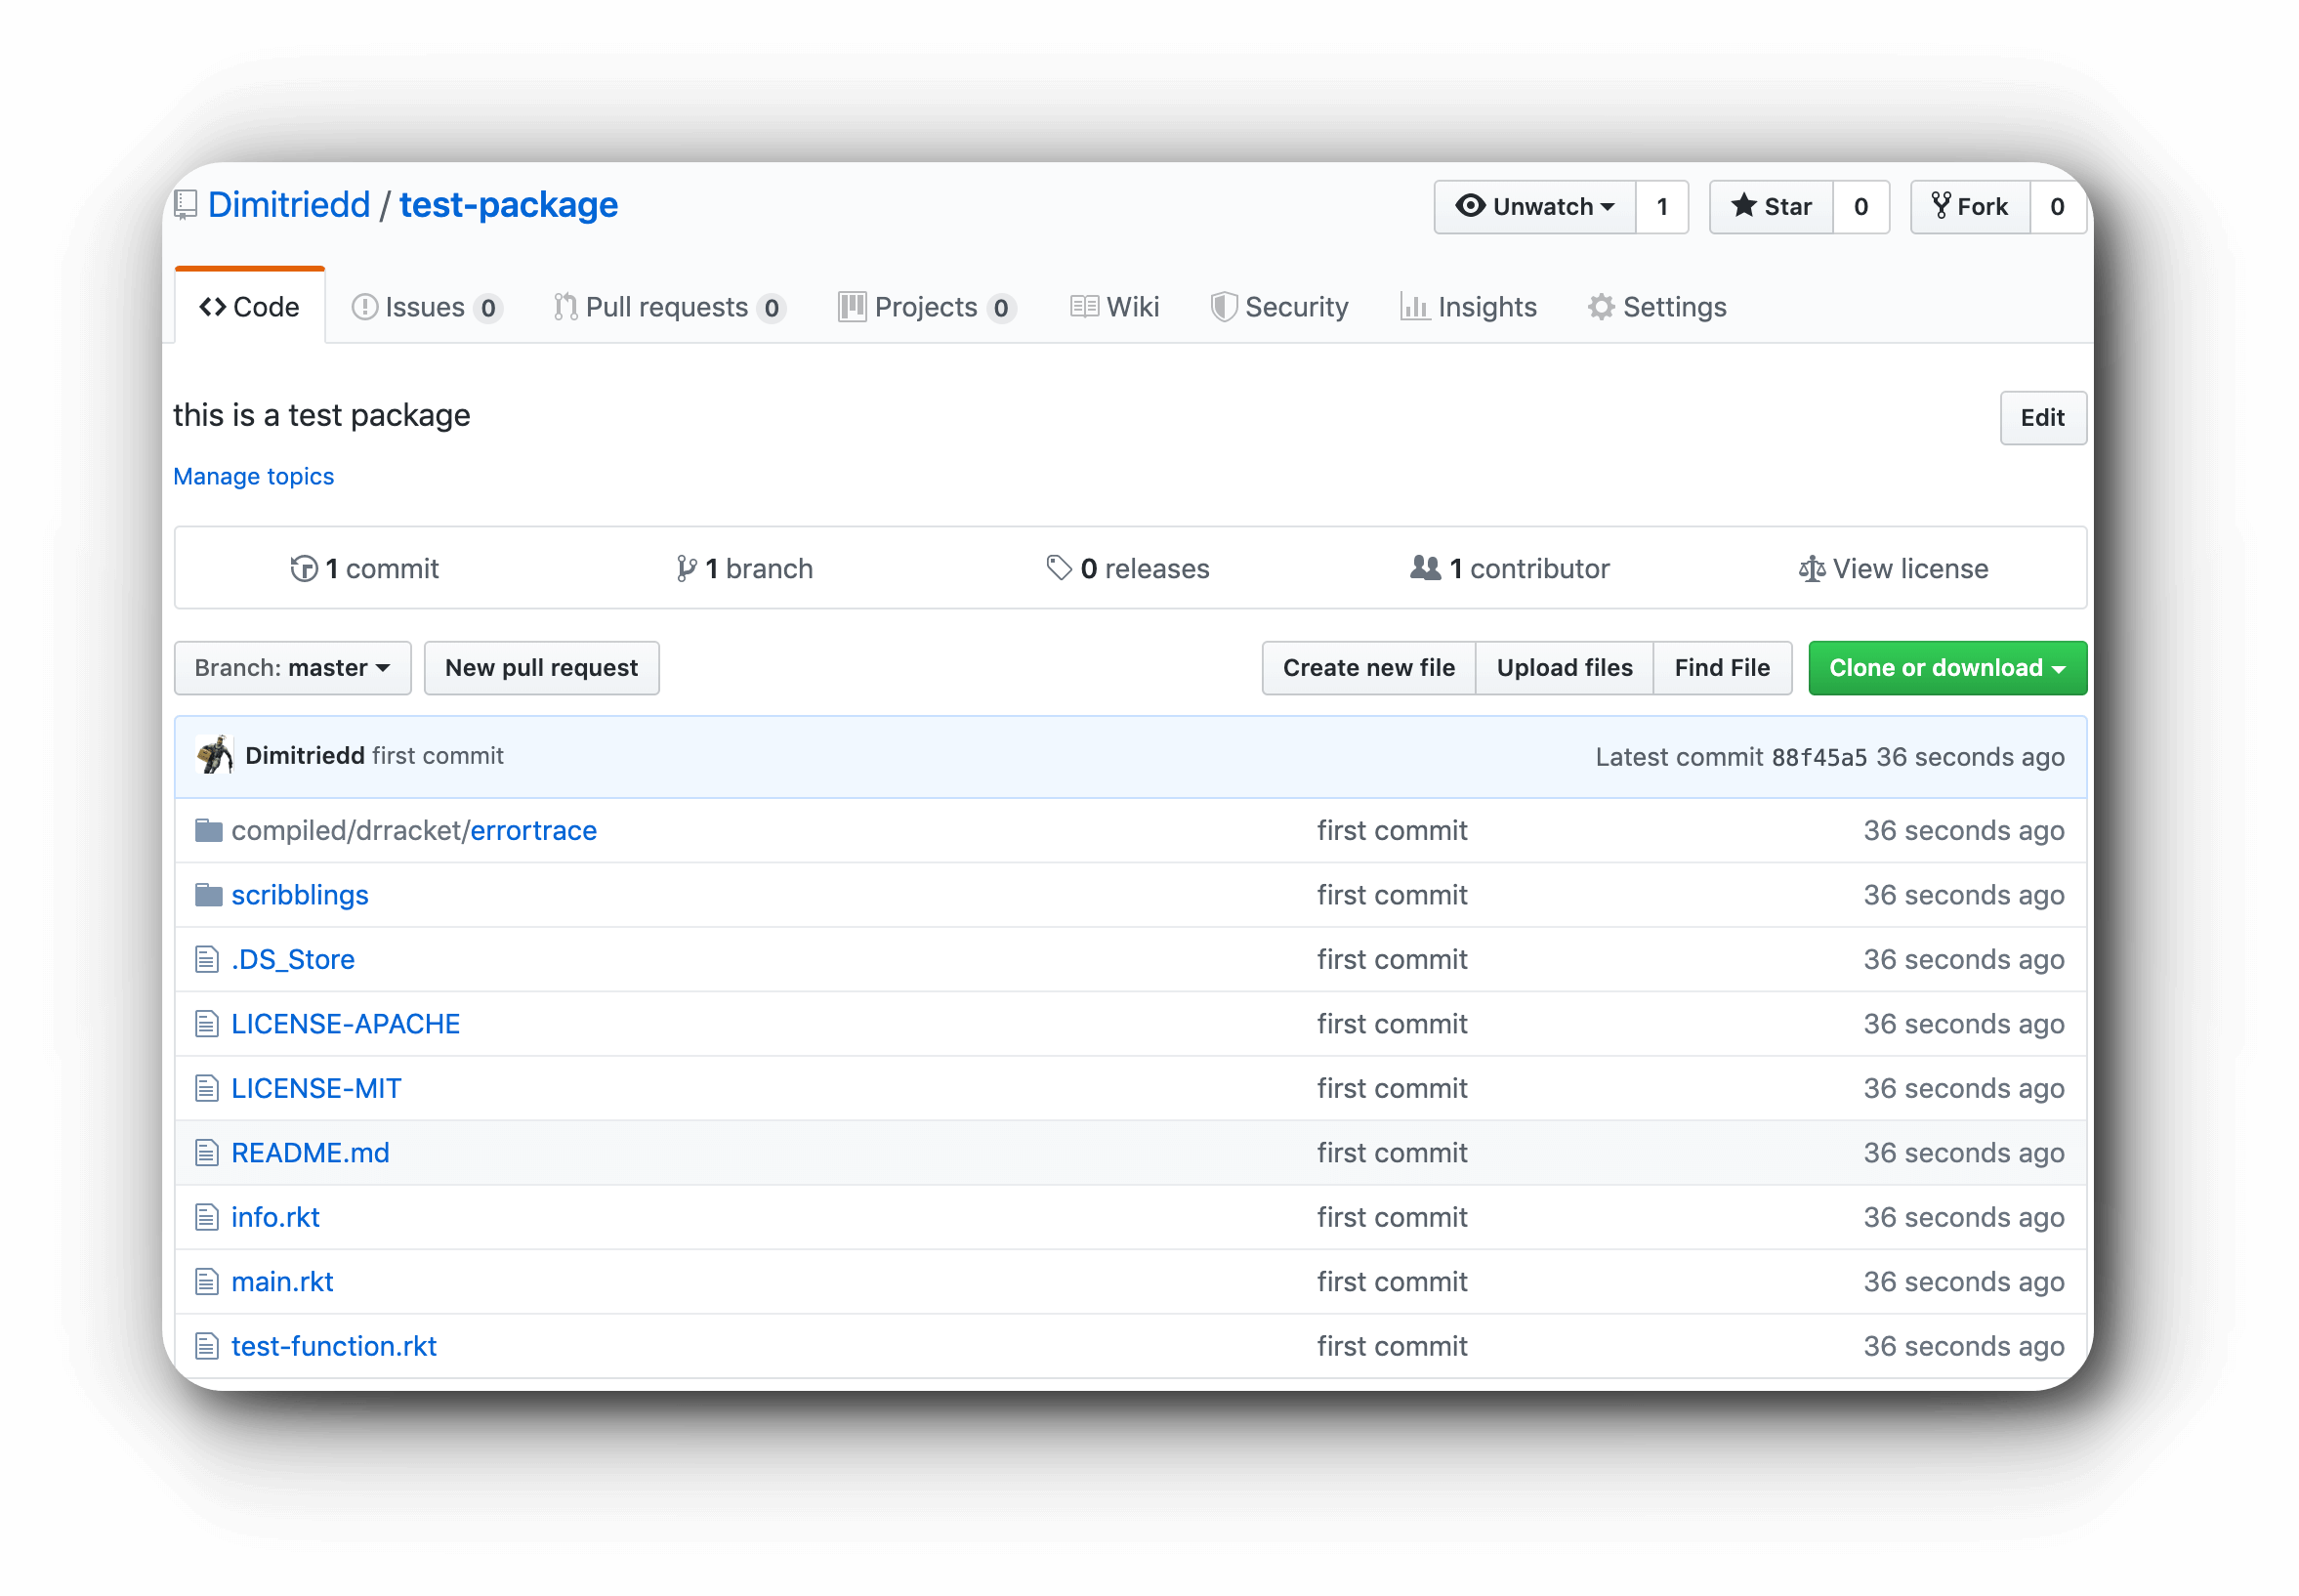
It should look something like this. If you ever need to make changes to the files, do them on your local machine and run these commands in Command Prompt once you have navigated into your modified package.
git add .
git commit -m "THE DESCRIPTION OF THE CHANGE"
git push -u origin master
Now that you have a repository containing your racket package, you need to install the package in DrRacket.
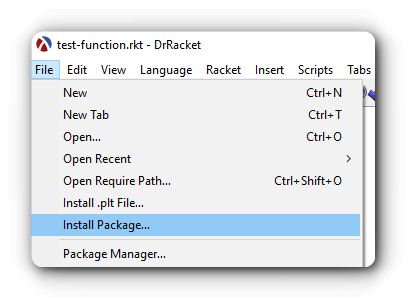
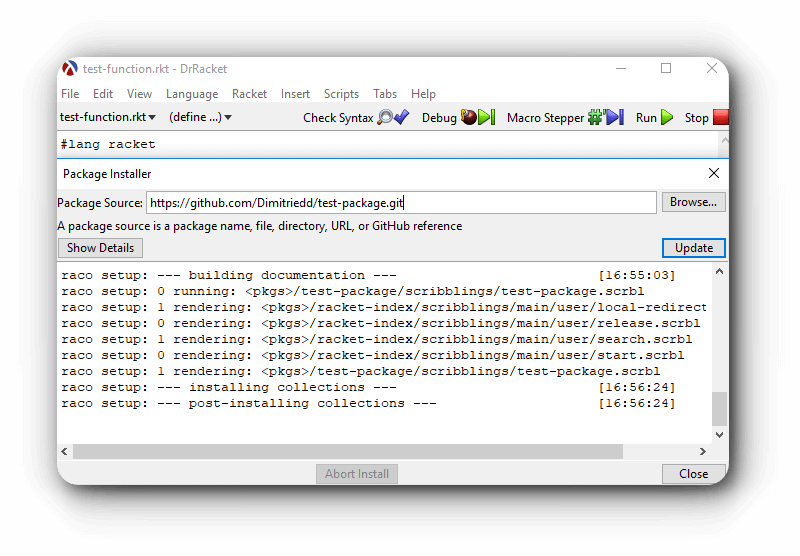
Racket will prompt you with this window:

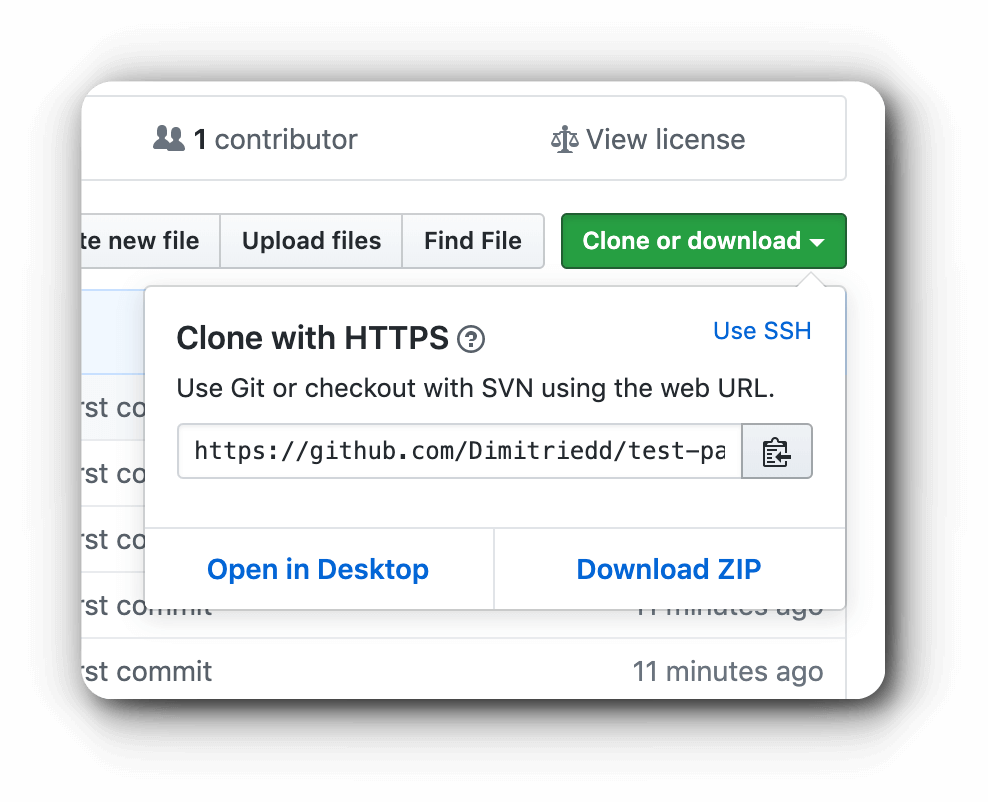
Make sure you post your github repository link here. You can find your github repository link here on your repository page. Simply click on the clipboard button to copy it.
Once you click install, it should look like this when finished:
At this point you can close this window and start to test your code. You will want to make a new tab in DrRacket to test your function.
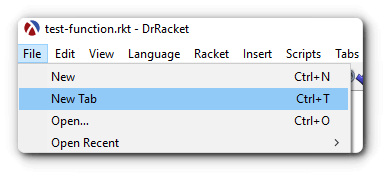
A new tab should look like this:
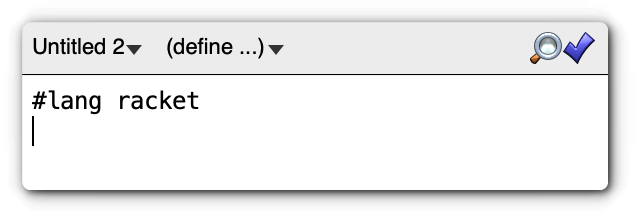
To test your function, you will need to add a requirement from the tab to your package. We do this by adding the require function.
#lang racket
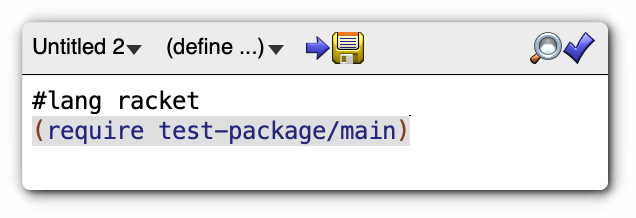
(require YourPackageName/main)This code will require the functions exported from main.rkt. Now we call the function to see if it runs.
#lang racket
(require YourPackageName/main)
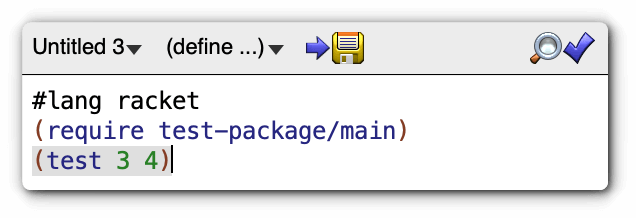
(FunctionName input)We can now click run and let DrRacket do the rest.
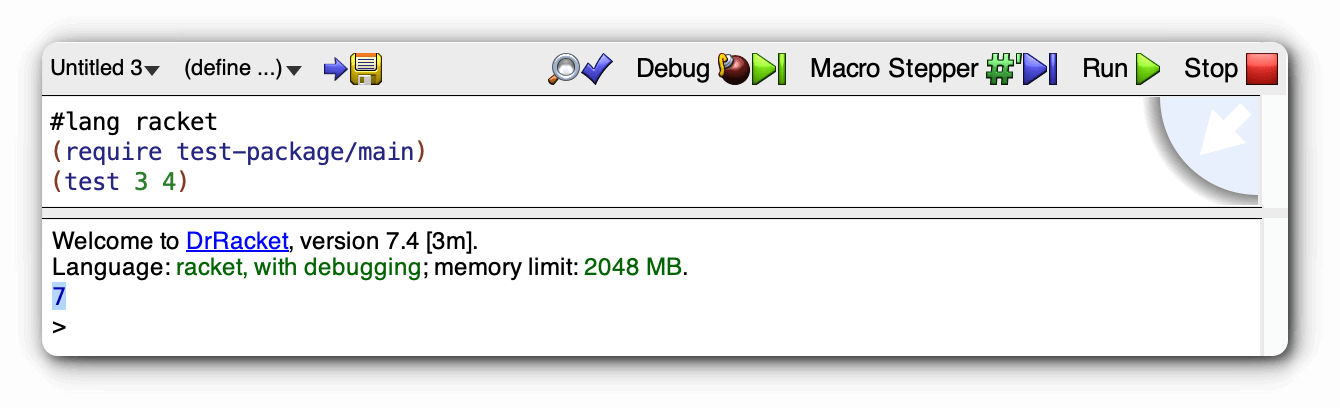
As you can see it outputs 7, which is correct.
You have now created and hosted your first racket package!